A Schema-first approach
Let’s start with the most important entity in the entire App: a Wonder.
We are dealing with a collection of wonders, where each wonder can have a fairly complex structure that describes various aspects such as facts, history, construction, location, photos, etc. It is best to treat this as Structured Content and build a schema that can define a Wonder. This is our starting point.
Identifying the Schema
Section titled “Identifying the Schema”After digging through the content aspects of a wonder, we came up with a schema
that described most of the Wonder details. Note that there are a few exclusions
(such as the artifacts, as mentioned in the previous post).

Some of the entities might seem new, such as the PortableText and
ImageReference. These are entities from the CMS that help in describing rich
text and images respectively. The Vyuh Framework can comfortably handle very
complex and sophisticated Rich Text, all rendered in Flutter.
Defining the Schema
Section titled “Defining the Schema”With a rich schema in hand, we have now described a single wonder, as structured content. This neatly translates to a CMS schema with a system like Sanity 🔗, which is supported as the default CMS for Vyuh.
On Sanity, we define the schema in TypeScript and export it for consumption inside the CMS Studio. A snippet of the schema definition is shown below.
export const wonder: SchemaTypeDefinition = defineType({  name: 'wonderous.wonder',  type: 'document',  title: 'Wonder',  icon: Icon,  fields: [    defineField({      name: 'identifier',      title: 'Identifier',      type: 'string',    }),    defineField({      name: 'hexColor',      title: 'Hex Color',      description: (        <div>          The primary color of the wonder, expressed in hexadecimal format(          <code>AARRGGBB</code>). Example: <code>FFFF0000</code> for red (          <span            style={{              display: 'inline-block',              width: '1rem',              height: '1rem',              backgroundColor: '#FF0000',            }}          ></span>          ).        </div>      ),      type: 'string',    }),    defineField({      name: 'title',      title: 'Title',      type: 'string',    }),    defineField({      name: 'subtitle',      title: 'Subtitle',      type: 'string',    }),
    defineField({      name: 'video',      title: 'YouTube Video',      type: 'object',      options: {        columns: 2,      },      fields: [        defineField({          name: 'videoId',          title: 'Video Id',          type: 'string',        }),        defineField({          name: 'caption',          title: 'Caption',          type: 'string',        }),      ],    }),    defineField({      name: 'startYear',      title: 'Start Year',      description:        'The year when construction started. Years in BCE should be negative.',      type: 'number',      fieldset: 'timeframe',    }),    defineField({      name: 'endYear',      title: 'End Year',      description:        'The year when construction ended. Years in BCE should be negative.',      type: 'number',      fieldset: 'timeframe',    }),    defineField({      name: 'unsplashCollectionId',      title: 'Unsplash Collection Id',      type: 'string',    }),
    // Rest of the fields ...});
Creating Wonders
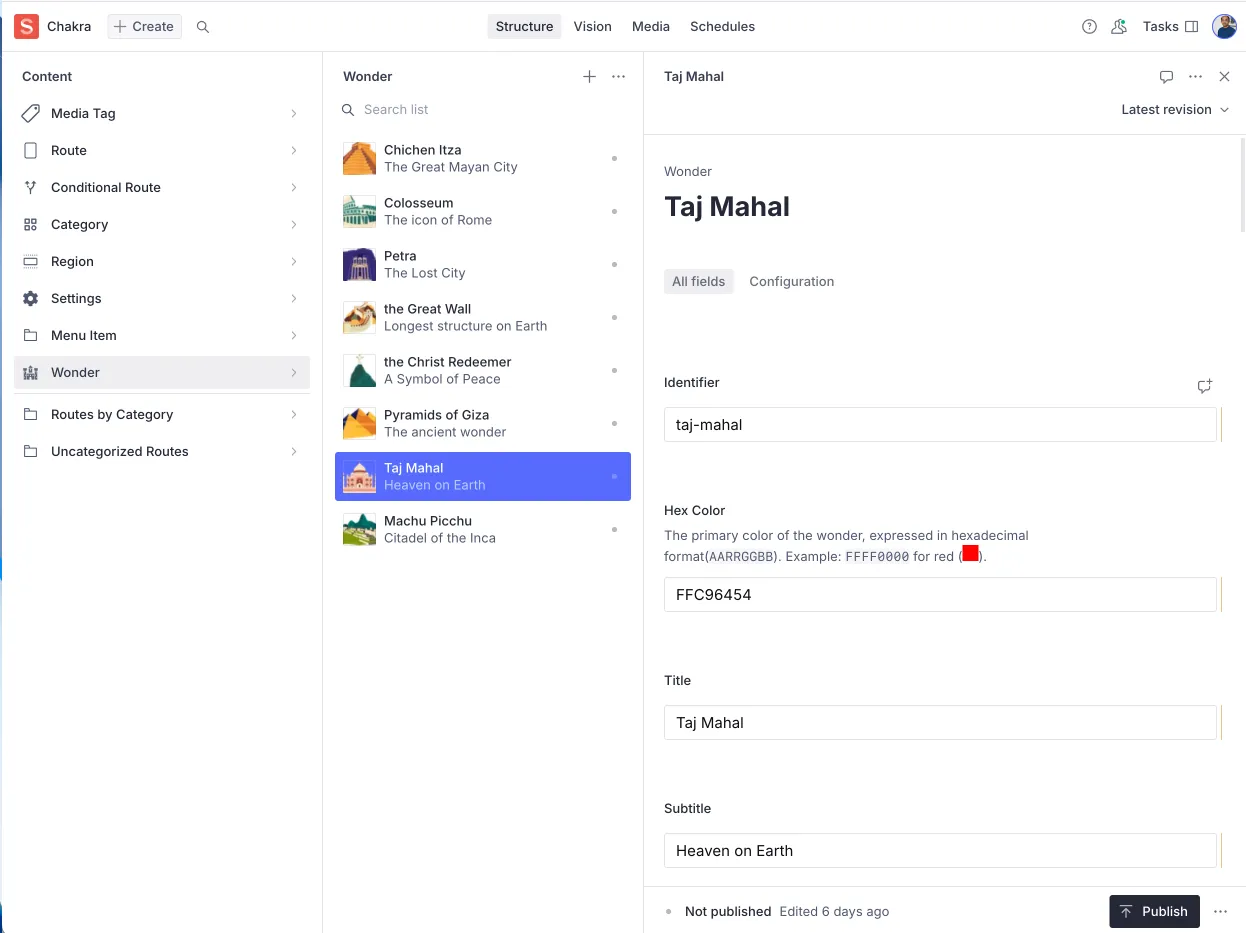
Section titled “Creating Wonders”Each wonder is a separate document of type wonderous.wonder. We can create
that inside the CMS Studio and feed all details for each wonder. We went through
and extracted all the content for each wonder, as defined in the Wonderous App.
Each wonder was created as a separate document inside the CMS Studio.
With Vyuh, your Wonder information stays in one place and its easy to manage it as you keep adding more wonders, well beyond the 8 we have today.
Once the wonders were all setup in the Studio, it was now time to focus on the Presentation side of the content. In the next article, we will cover the setup for defining the User Journeys on the CMS.