Navigation and Structure
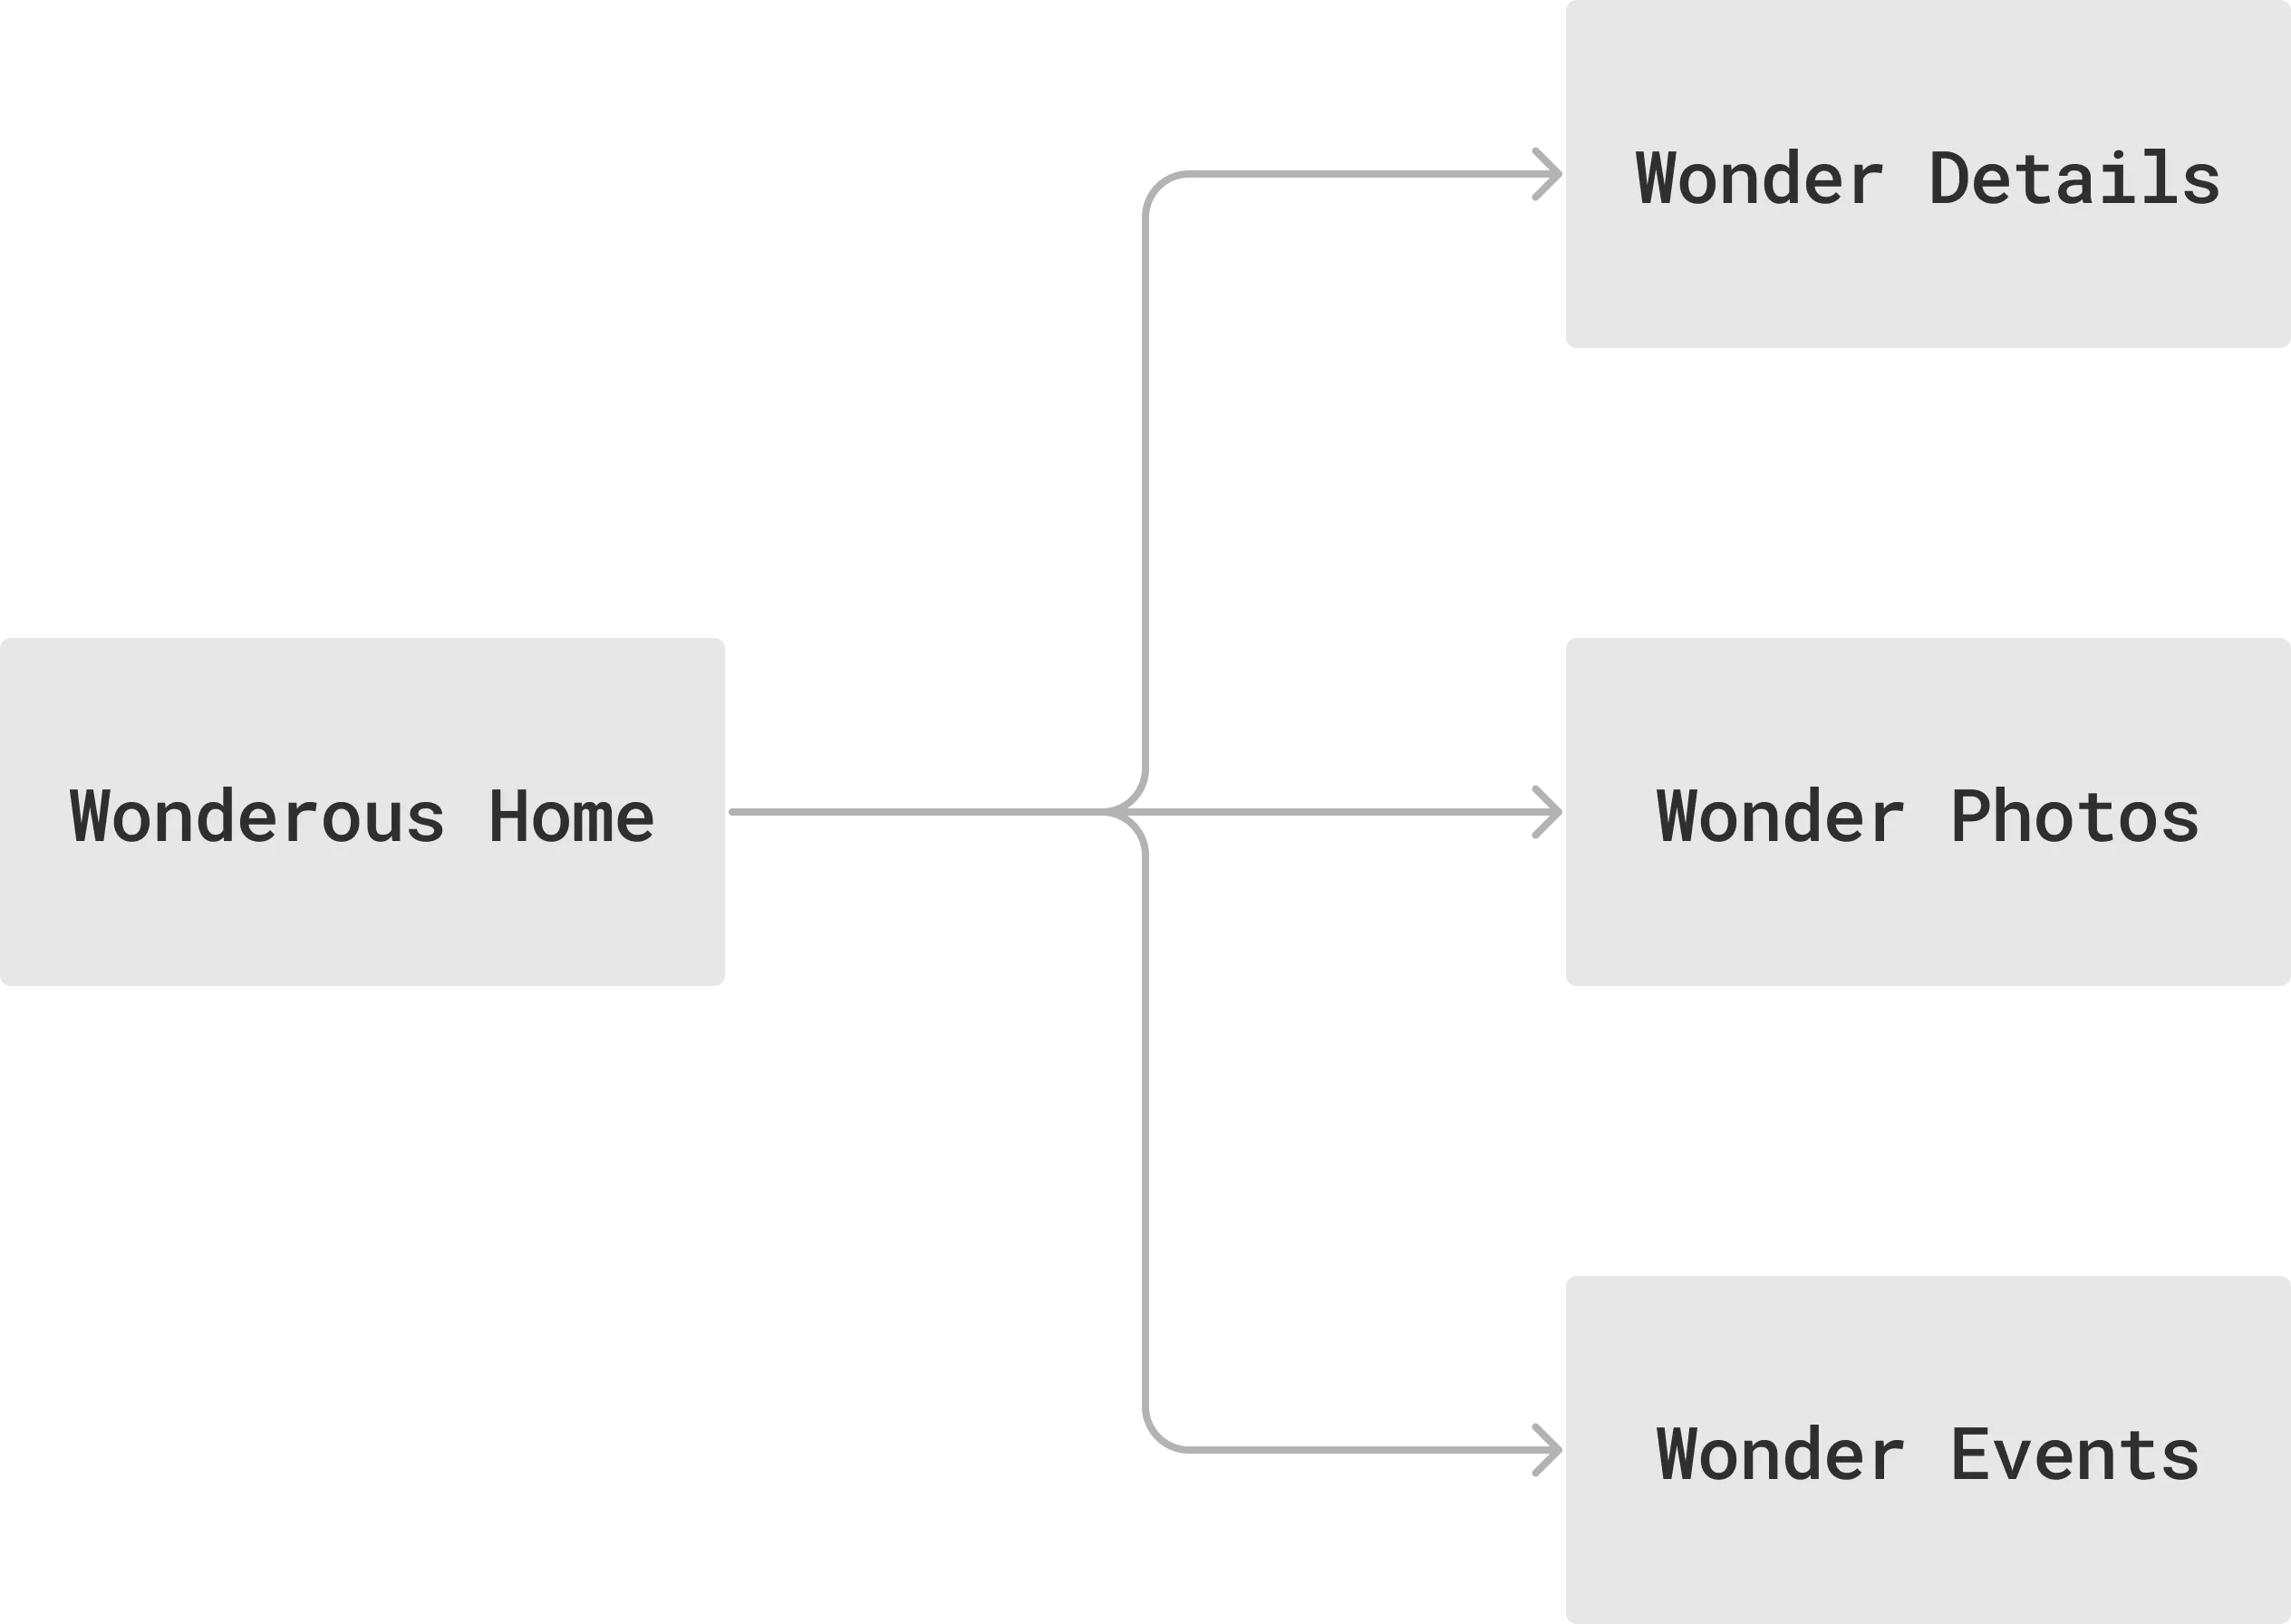
In an earlier post, we talked about the essential journey of the Wonderous App, which starts with a list of the Wonders and navigates into the various details of the Wonder. This is the same setup we will replicate in the CMS, as shown below:
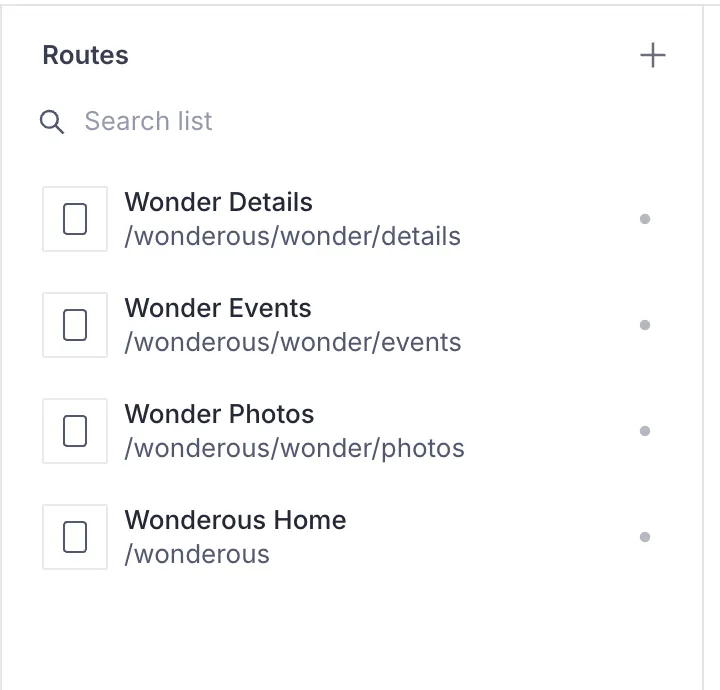
These routes map to the Route document in the CMS. Route is a special
type in Vyuh that allows you to define a single page or dialog. Think of this as
a single screen (aka page) of content. You can create routes within the CMS and
link them together for navigation.
Routes on the CMS and Application
Section titled “Routes on the CMS and Application”The routes needed for our version of Wonderous are as shown below:
Now, you might be wondering: “How come we didn’t create a separate route for
each Wonder?”. A very valid question! You see, all wonders have exactly the
same visual structure and the only thing that distinguishes one wonder from
another is its identifier and other wonder-specific content. So, these
routes act more like template-routes rather than fixed static routes.
The Vyuh Framework supports such a concept because it is very common to use the same page structure and only change the content that is painted on it.
Application Routing
Section titled “Application Routing”On the Application side, we use the go_router to setup the routes. These
GoRoutes use the wonder as a path-parameter and have it internally link to
the corresponding CMS route. We have a dedicated CMSRoute type (a subclass of
GoRoute) for such a scenario.
Here is the entire route setup with some parts elided for brevity.
import 'package:feature_wonderous/api/wonder_client.dart';import 'package:flutter/material.dart';import 'package:go_router/go_router.dart';import 'package:vyuh_core/vyuh_core.dart' hide RouteBase;
Future<List<RouteBase>> routes() async {  return [    CMSRoute(path: '/wonderous'),    CMSRoute(      path: '/wonderous/wonder/:wonder([^/]+)',      redirect: // redirects to /details by default      routes: [        StatefulShellRoute.indexedStack(          branches: [            StatefulShellBranch(              routes: [                CMSRoute(path: 'details', cmsPathResolver: wonderPathResolver),              ],            ),            StatefulShellBranch(              routes: [                CMSRoute(path: 'events', cmsPathResolver: wonderPathResolver),              ],            ),            StatefulShellBranch(              routes: [                CMSRoute(path: 'photos', cmsPathResolver: wonderPathResolver),              ],            ),          ],          builder: // creates the Scaffold with Bottom Navigation Bar,        ),      ],    ),  ];}
String wonderPathResolver(String path) {  return switch (path) {    (String x) when x.contains(RegExp(r'/wonder/[^/]+/details')) =>      '/wonderous/wonder/details',    (String x) when x.contains(RegExp(r'/wonder/[^/]+/events')) =>      '/wonderous/wonder/events',    (String x) when x.contains(RegExp(r'/wonder/[^/]+/photos')) =>      '/wonderous/wonder/photos',    _ => path  };}
The real magic is in the wonderPathResolver (shown in mark 1 above) that
looks at the specific GoRoute path and identifies the corresponding
CMS-path.
With this we are now able to navigate to a path like
/wonderous/wonder/taj-mahal/details and have it automatically use
the /wonderous/wonder/details CMS-path for rendering the page content! Other
application-routes for <wonder>/events and <wonder>/photos are mapped
similarly.
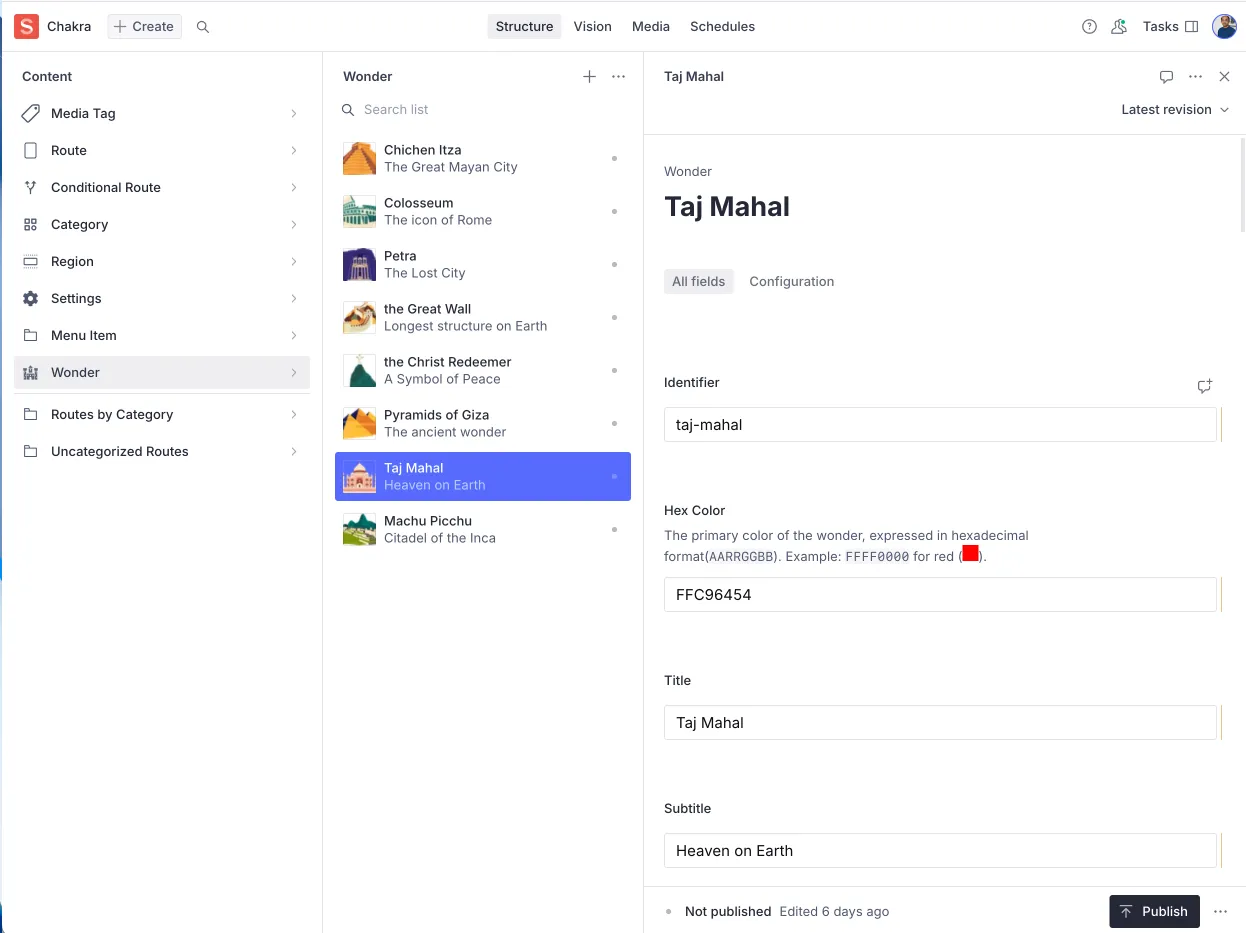
Now that the application side routing is setup, its just a matter of linking the various wonder-cards in the Wonderous Home route on the CMS. For the Taj Mahal wonder, we do it like so:
-
Locate the Taj Mahal Card

-
Edit the Navigation action
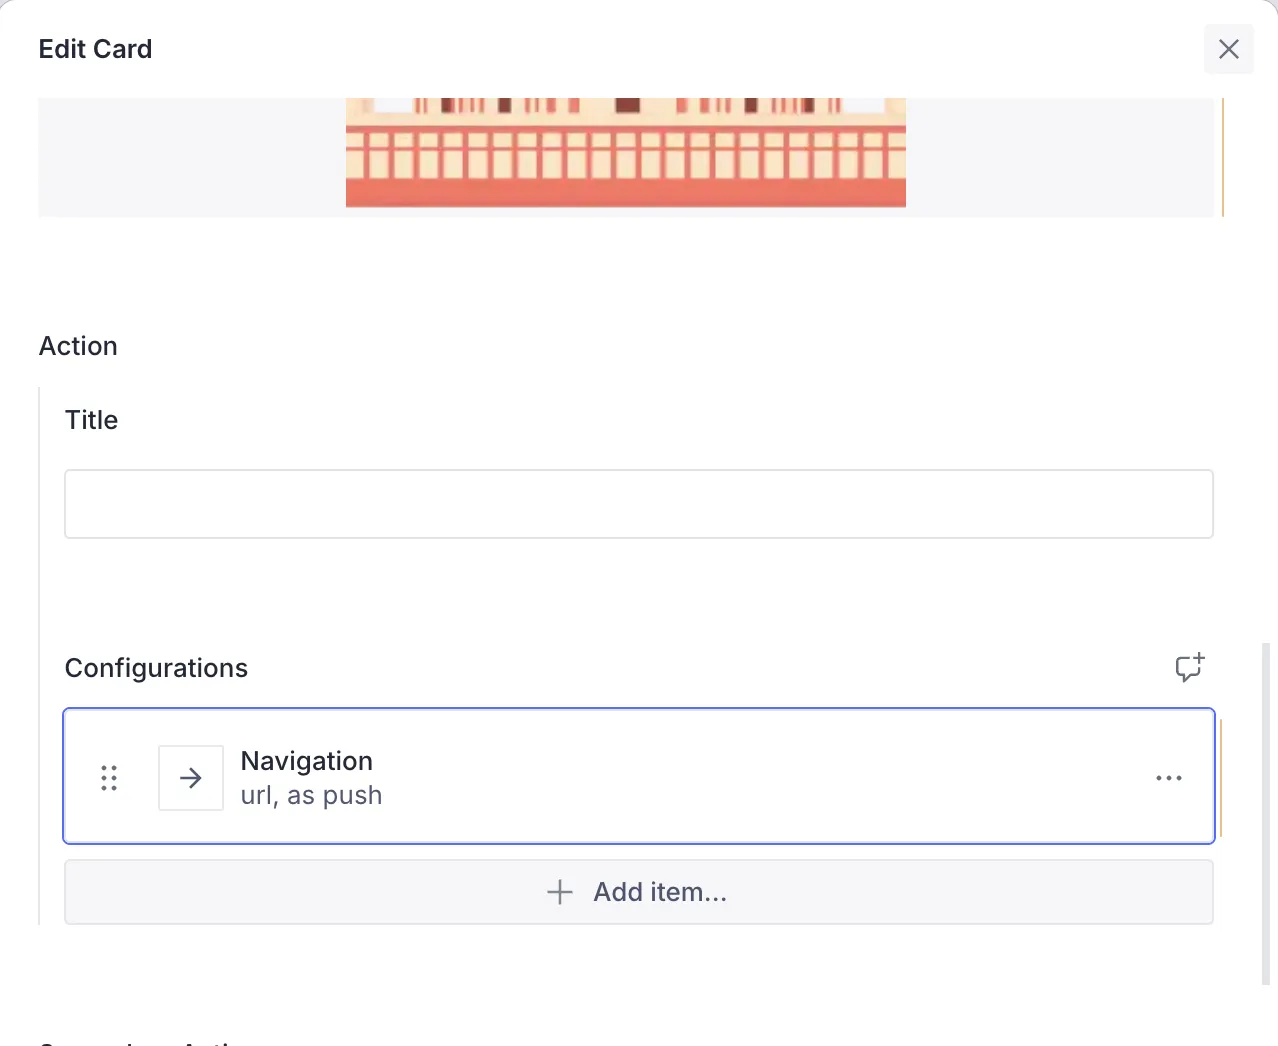
-
Link to Taj Mahal details

Rinse and repeat for the remaining 7 cards, and lo and behold, all our cards are now pointing to their respective detail-screens.
Wonder Detail Routes
Section titled “Wonder Detail Routes”Just like we setup the Wonderous Home route, we also do a similar setup for the details, photos and events related routes on the CMS. The difference is that these routes focus on the page structure for a single Wonder. Let’s see the Details page as an example.
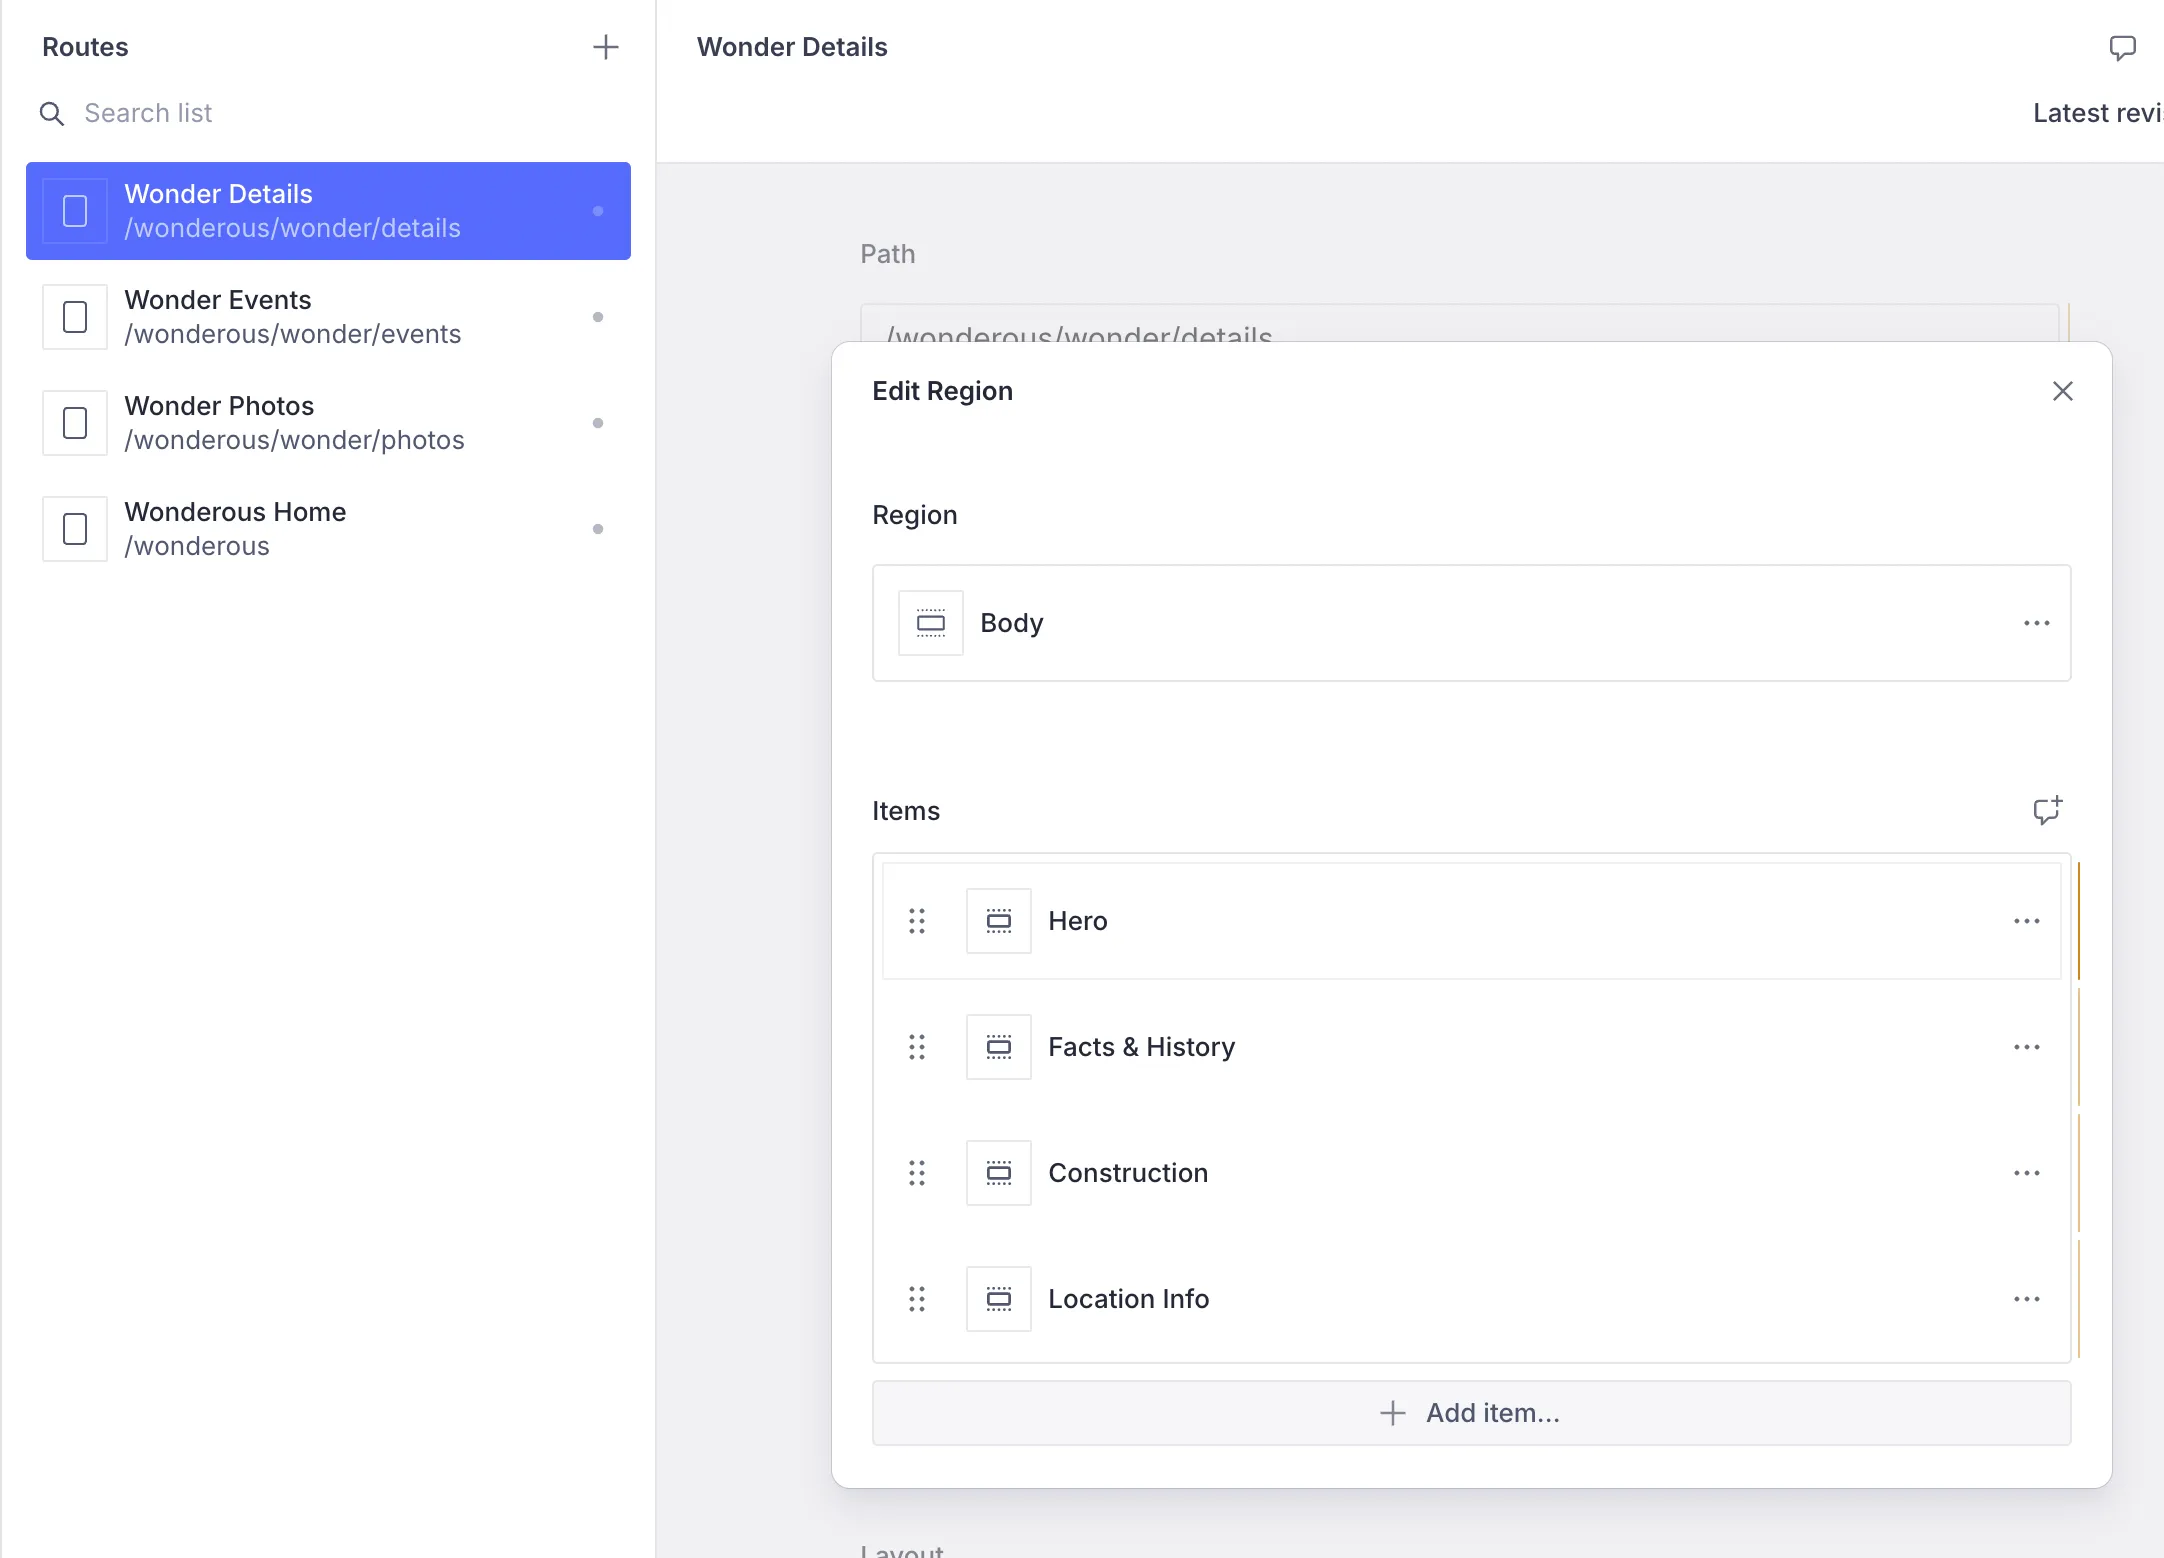
Notice that we have divided the page content into a set of Wonder sections:
Hero, Facts & History, Construction and Location Info. These are special
Content Blocks we have created for the Wonderous feature. Dividing the wonder
into a set of sections allows us to change their order or even add more content
in between sections! This is a hidden super power, which we can leverage later.
The wonder-section is defined in a schema for the CMS with a counterpart in Flutter. In the below two code-snippets, you can see the schema definition and its counterpart in Flutter.
import { defineField, defineType, SchemaTypeDefinition } from 'sanity'import { TbSection as Icon } from 'react-icons/tb'
export const wonderSection: SchemaTypeDefinition = defineType({  name: 'wonderous.wonder.section',  title: 'Wonder Section',  type: 'object',  icon: Icon,  fields: [    defineField({      name: 'title',      title: 'Title',      type: 'string',    }),    defineField({      name: 'type',      title: 'Type',      type: 'string',      options: {        list: [          { title: 'Hero', value: 'hero' },          { title: 'Facts & History', value: 'history' },          { title: 'Construction', value: 'construction' },          { title: 'Location Info', value: 'locationInfo' },          { title: 'Events', value: 'events' },          { title: 'Photos', value: 'photos' },        ],      },    }),  ],})
Notice that the CMS configuration for the wonder-section is very simple and only gives a declarative name for the section. We don’t concern ourselves with the visual details. If need be, we could add some configuration for controlling the presentation as well. However, its best not to venture too deep into this area as its not the recommended way of creating Structured Content.
final feature = FeatureDescriptor(    name: 'wonderous',    title: 'Wonderous',    description: 'The Wonderous app as a Vyuh Feature',    icon: Icons.castle_outlined,    init: () async {      await dotenv.load(fileName: '.env');
      final accessKey = dotenv.get('UNSPLASH_ACCESS_KEY');      final secretKey = dotenv.get('UNSPLASH_SECRET_KEY');
      vyuh.di.register(WonderClient(        unsplashAccessKey: accessKey,        unsplashSecretKey: secretKey,      ));    },    routes: routes,    extensions: [      ContentExtensionDescriptor(        contentBuilders: [          ContentBuilder<WonderSection>(            content: WonderSection.typeDescriptor,            defaultLayout: WonderSectionLayout(),            defaultLayoutDescriptor: WonderSectionLayout.typeDescriptor,          ),        ],      )    ]);
WonderSection is the Flutter version of the wonder-section schema and knows
how to render a specific part of the wonder. It looks at the section-type and
renders the appropriate section accordingly.
Live Preview of the App
Section titled “Live Preview of the App”With all the setup done so far on the CMS and on the Flutter side, we can run our App on the Simulator for a live preview. This is live because, making changes on the CMS gives a quick preview on the Flutter App. This workflow is very effective as you explore various layouts, content-combinations and tweak the visual details with Flutter Hot Reload.
Note that we have taken some creative license in building these sections and they do not look exactly like the ones in the original Wonderous App. That is a deliberate choice, in order to focus more on the Vyuh related capabilities rather than Flutter. It is possible to get the exact same visual behavior with more time and effort.